


Coloured pencils are a very approachable and exciting medium to work with. Even though coloured pencils as an art medium aren’t a traditional practice, they have grown in popularity among upcoming artists.
To enable the resemblance of paintings, drawings created with coloured pencils offer a higher degree of refinement and overall control over the details. The medium is also very forgiving, as mistakes can easily be erased.
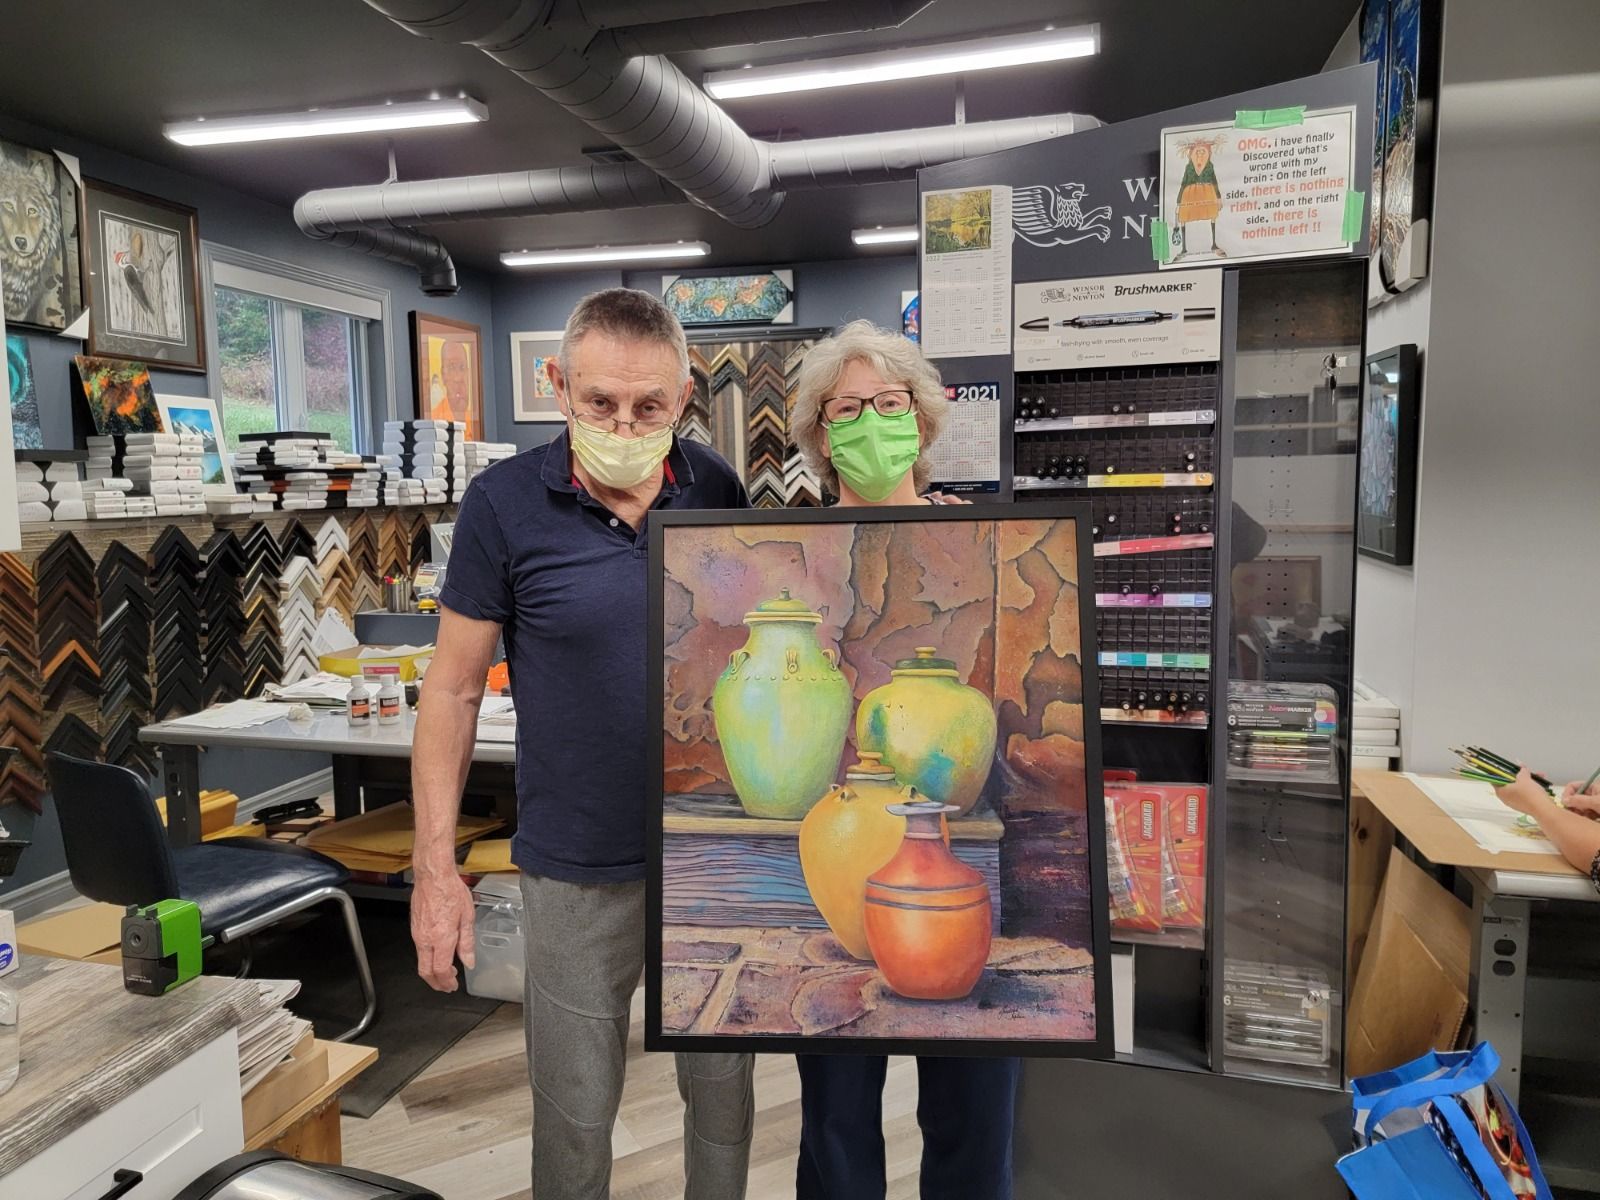
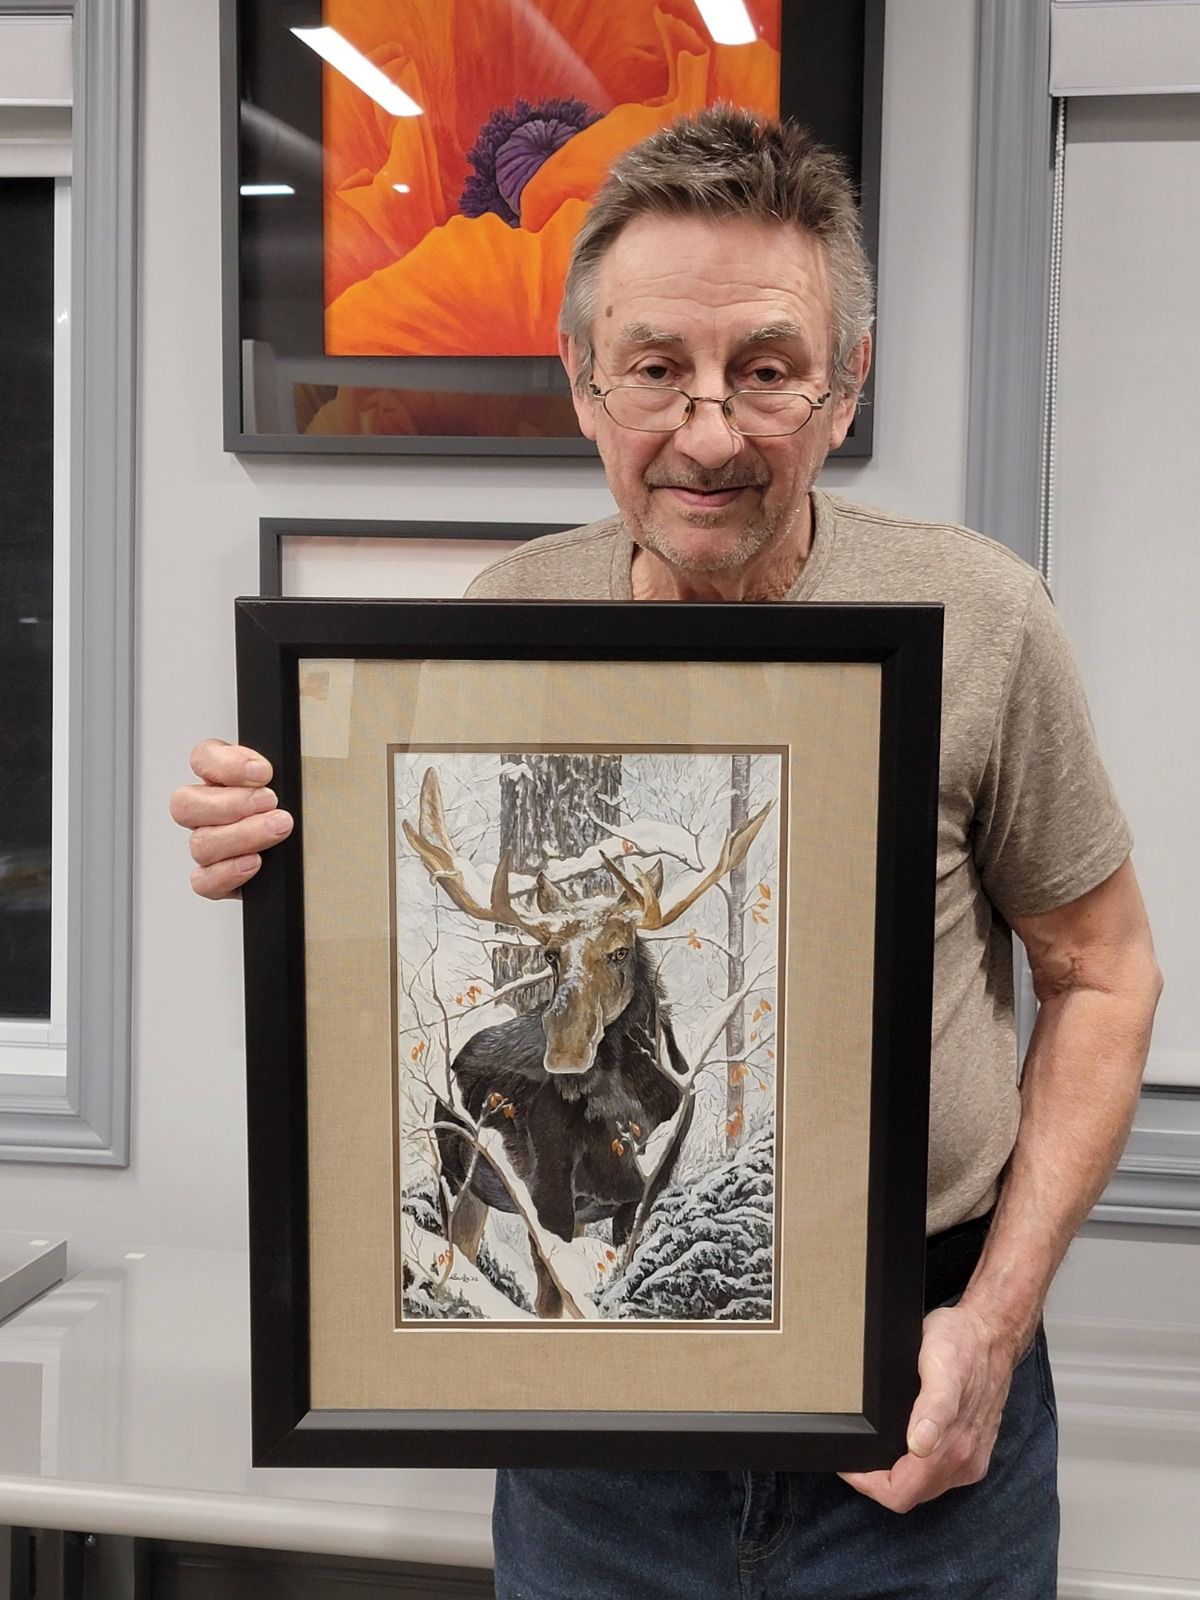
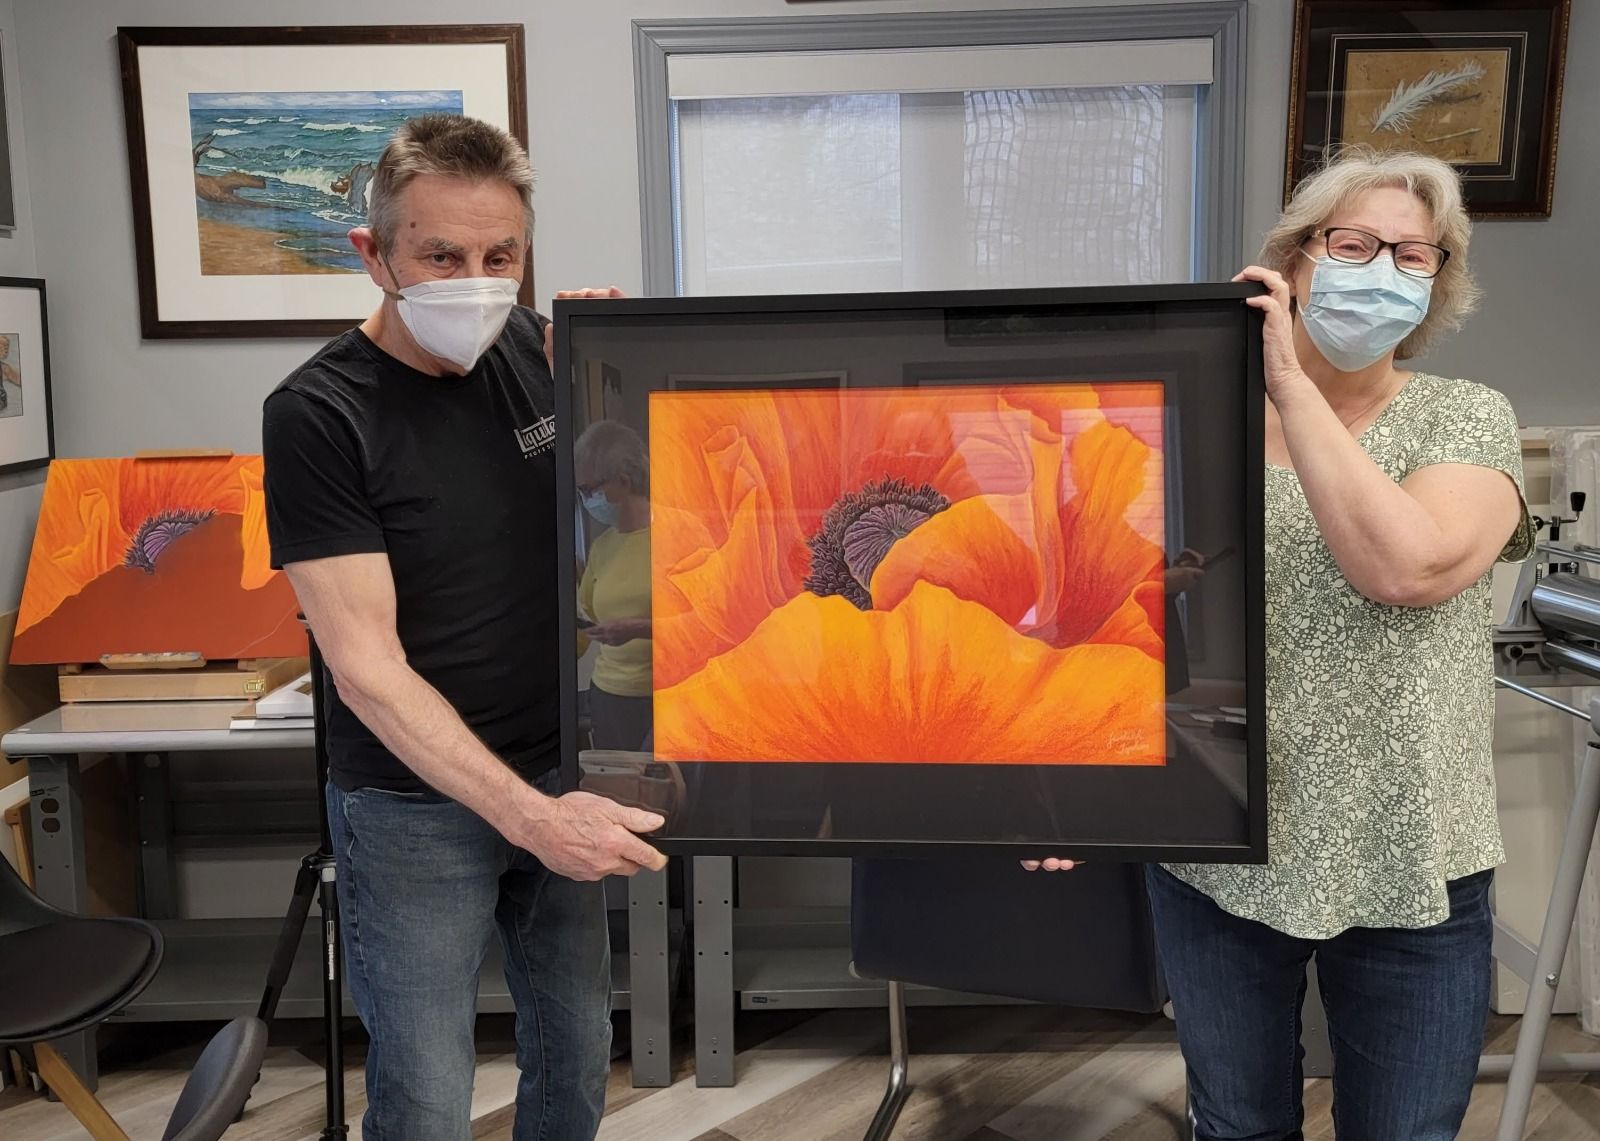
Lightfast pigment oil pencils are an exception to the rule; the pencils are considered museum-quality oil mediums, thus accepted into exhibition galleries as oil paintings.
So, if you are a newcomer to the wonderful world of coloured pencil drawing, then a bit of know-how will go a long way in helping you progress swiftly and get comfortable.
Essential tips and tricks of coloured pencils for beginner artists to follow
Layer colours to obtain desired shades
Although you can avail quality art pencils in all colours, it is possible to layer multiple shades to obtain desired hues and luminosity. Dressing in layers can give you the desired colour values by altering the intensity of each shade. Other mediums that can be used are an alcohol blending marker, odourless thinner, plant-based toxin-free solvent, or oil. Experiment to find your preference for the style of work you enjoy.
Choosing appropriate drawing surfaces
The choice of a drawing surface can vastly affect the resulting colour finishes. The texture and tone of the paper must be right when working with coloured pencils. Smooth and rough-textured surfaces produce varying finishes in your drawing and differ in overall control over lines and shading. If applying a watercolour or gouache as underpainting, it is recommended to use watercolour or mixed media papers. PanPastel is also another underpainting technique that can be used as underpainting.
Apply burnishing techniques
The burnishing technique makes your coloured pencil drawings appear like a painting by filling in the white of the paper that is showing through the pencil marks with a blending tool or a tinted, toned or shaded coloured pencil that will dissolve multiple layers into a single seamless smooth colour application. The blending tool does not shift the colour, but the white coloured pencil will change more like a pastel colour, and the other colours will shift the hue, tone or shade depending on the colour used.
Be careful with stroke directions.
It is the fine details that differentiate a good and awe-inspiring artwork. With coloured pencils, to get the most refined finish or colour application, always follow the contours of the object you are colouring when directing your strokes—making the object appear realistic.
General Pencil point definitions
VS – Very Sharp
S – Sharp
SD – Slightly Dull
D – Dull
Specific Pencil Pressure Description
0-is a whisper, barely touching the paper
1-is very light pressure
2.5- is about the pressure most people use to write
4-is pressing nearly as hard as you can without totally embossing the paper
5- burnishing, meaning pressing into the paper, flattening hills into valleys. (Embossing) using a (D) dull pencil.
Colour pencil Stroke Technical Terms
H-Horizontal Line – Horizontal lines are generally between ½ to ¾ inch in length. Motion is like a squished oval pendulum so that lines do not overlap with equal pressure, demarking the lines. The overlapped lines should merge.
L-Linear Stroke – The stroke follows the line or contour form of the object area—a directional line in correlation with the object or movement.
CM-Circular Motions – (Brillo Pad) Using a very sharp pencil point, varied light to medium pressure.
Wash – Lightly glaze the hills on the paper to create the lightest or highlight or create an undertone value, using an even light whisper pressure application of colour with the pencil on its side, like doing a light wash in watercolour.
Transferring the line drawing – Use a lightbox or window lighting. If using a transfer paper, be careful; use one that you can erase the line. Non-Photo Blue pencil creates light ghost outlines with no need to erase them. Not all non-photo blue pencils are created equally; Prismacolor Copy-Not Col-Erase non-photo blue pencils are the most delicate, and other brands of non-photo blue pencils make darker marks. You can erase or colour over it; the line can disappear or erase over the coloured pencil.
Charted Step – Follow directions using the example and image photo as a guideline.
Tips:
- Follow the directional growth of the fur or hair.
- Turn your pencil while drawing to keep the point sharp longer.
- Frequently refer to the photo for direction.
- Pay attention to not making definite colour lines from one colour into the other, always overlapping lightly one over the other, or blending highlights and dark areas using intermixing strokes.
Always use professional-grade pencils.
With good quality professional-coloured pencils from King’s Framing & Art Gallery, you get to cherish a higher quality finishing in your drawings. King’s Framing & Art Gallery is an online art supply store in Ottawa, delivering the finest quality supplies to more than 55 countries.


